A vision board is far more than a simple arts and crafts project. It is a powerful psychological tool designed to clarify your goals, focus your mind, and channel your daily actions toward the life you want to build.
At its core, a vision board is a visual representation of your aspirations, combining images, quotes, and symbols that resonate with your deepest desires. By placing these visual cues in your everyday environment, you actively train your brain to recognize opportunities and stay aligned with your objectives.
This guide on how to use a vision board effectively will walk you through the entire process of creating and leveraging a vision board to manifest your goals with intention and clarity.

What Will You Need?
Before you begin the creative process, gather your materials. Having everything within reach allows you to stay in a state of flow without unnecessary interruptions. Your checklist will vary slightly depending on whether you choose a physical or digital format.
For a Physical Vision Board:
- A sturdy base: A corkboard, poster board, or a large piece of heavy cardstock.
- Adhesives: Glue sticks, double-sided tape, or pushpins (if using a corkboard).
- Cutting tools: A good pair of scissors or a craft knife.
- Visual materials: A stack of diverse magazines, printed photographs, postcards, or personal sketches.
- Writing utensils: Colorful markers, Sharpies, or pens for adding personalized notes.
- Embellishments: Stickers, ribbons, or colored paper to add texture and personal flair.
For a Digital Vision Board:
- A device: Your laptop, tablet, or smartphone.
- Design software: Canva, Pinterest, or even a simple presentation tool like PowerPoint or Keynote.
- Source material: High-quality images saved from stock photo websites (like Unsplash or Pexels) or personal photos.
10 Easy Steps on How to Use a Vision Board Effectively
Step 1: Define Your Core Values and True Desires
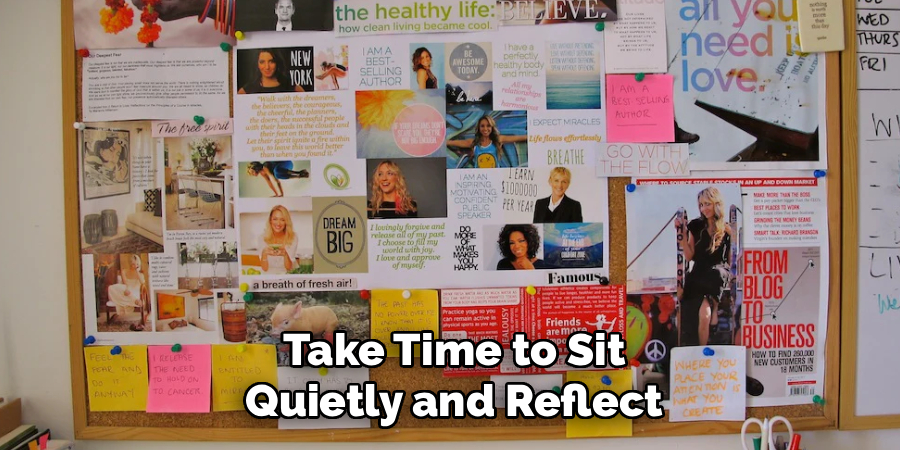
The foundation of an effective vision board starts long before you cut out a single picture. Take time to sit quietly and reflect on what truly matters to you. What are your core values? What kind of life do you want to experience? Grab a journal and write down your thoughts freely. Do not censor yourself or worry about what seems realistic at this moment.
Focus on different areas of your life, including your career, relationships, health, personal growth, and finances. The goal here is to dig beneath surface-level wants and uncover the deep, emotional desires that will actually drive you forward. A vision board built on borrowed dreams or societal expectations will lack the emotional charge needed to influence your subconscious mind.
Step 2: Set Specific and Measurable Goals
Once you have a general sense of your desires, translate them into clear, actionable goals. Vague aspirations like “be successful” or “get healthy” are difficult for your brain to process and act upon. Instead, break these ideas down into specific targets. If you want to improve your health, maybe your goal is to run a half-marathon or cook three plant-based meals a week.
If you want career success, perhaps the goal is to secure a management position or launch a specific side business. Give your goals parameters and timelines where possible. The more specific you can be, the easier it becomes to find the exact imagery that represents the finish line of that goal.
Step 3: Choose Your Preferred Format
Decide whether a physical or digital vision board best suits your lifestyle and learning style. Physical boards offer a tactile experience. The act of flipping through magazines, cutting out pictures, and arranging them by hand can be deeply therapeutic and helps cement the intentions in your mind. Digital boards, on the other hand, are incredibly convenient.
They allow you to source highly specific, high-resolution images from the internet and can easily be set as the wallpaper on your phone or computer. Think about where you spend most of your time. If you work from home, a physical board on your office wall might be perfect. If you are always on the go, a digital board on your smartphone ensures you see it constantly.
Step 4: Gather Powerful, Evocative Imagery
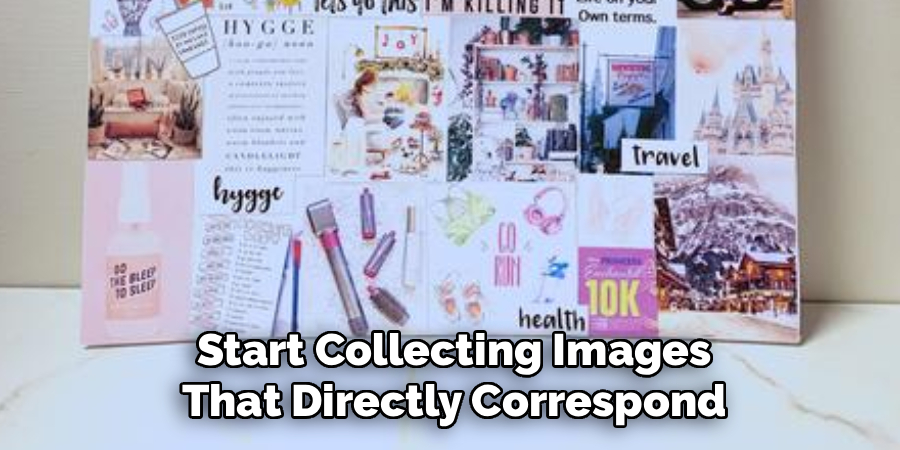
This is where the magic begins. Start collecting images that directly correspond to the specific goals you set in Step 2. Do not just look for literal representations; look for images that evoke the feeling of achieving that goal. If your goal is to buy a home, you do not just need a picture of a generic house. Find an image of a cozy living room that makes you feel relaxed, or a sunlit kitchen where you can imagine cooking with your family. The emotional resonance of the image is what activates the visualization process in your brain. Collect more images than you think you will need so you have plenty of options when it comes time to assemble.
Step 5: Select Affirmations and Power Words
Words carry immense psychological weight. Supplement your imagery with strong, positive affirmations and single power words that resonate with your goals. Words like “Strength,” “Abundance,” “Focus,” or “Peace” can act as quick mental resets when you look at your board. You can cut these out of magazines, print them in a font you love, or write them yourself. Make sure your affirmations are framed in the present tense, such as “I am confident and capable,” rather than “I will be confident.” This subtle shift in language tricks your brain into believing the reality is already occurring, which reduces resistance and builds self-belief.
Step 6: Create a Rough Layout Before Committing
Resist the urge to start gluing immediately. Lay your base material flat and begin arranging your chosen images and words. Group related concepts together to create visual harmony. You might dedicate one corner to career goals, another to relationships, and the center to your main overarching theme for the year. Play with the composition.
Overlap edges, leave some white space if it feels right, and see how the different elements interact. Taking the time to build a rough layout allows you to curate your collection, ensuring only the most impactful pieces make the final cut. Take a quick photo of the layout you like best so you can recreate it easily.
Step 7: Assemble and Glue with Intention
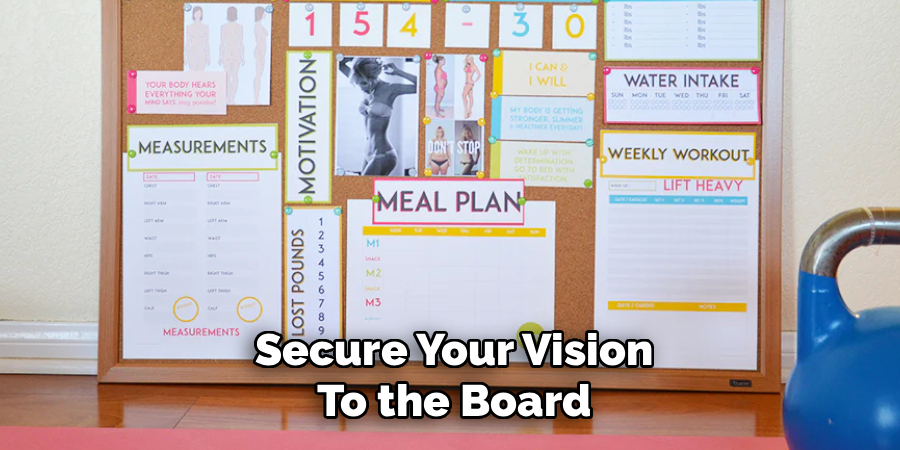
Now it is time to secure your vision to the board. As you glue or pin each item down, do so with deliberate intention. Do not just treat this as a craft project; treat it as a commitment to yourself. Take a deep breath as you place each image, visualizing the reality it represents. Feel the excitement and gratitude as if the goal has already been accomplished. This mindful assembly process anchors the physical creation of the board to the emotional state of success, making the finished product much more powerful.
Step 8: Place Your Vision Board in a Prime Location
A vision board hidden in a closet or buried in a computer folder is useless. To trigger the Reticular Activating System, your board must be in a location where you will see it frequently and effortlessly. If it is a physical board, hang it by your bedroom mirror, above your desk, or on the inside of your front door.
If it is digital, set it as your desktop background, your phone lock screen, or your browser homepage. The key is consistent, repeated exposure. Even when you are not actively studying the board, your peripheral vision and subconscious mind are absorbing the information and keeping your goals top of mind.
Step 9: Establish a Daily Visualization Routine
Do not just look at your board passively; engage with it actively every single day. Dedicate three to five minutes each morning or evening to stand in front of your vision board. Pick one or two images and vividly imagine yourself in that scenario. Engage all your senses. What does it look like, sound like, and feel like to achieve that goal? This deliberate visualization practice strengthens the neural pathways associated with your goals. It shifts your mindset from wishing to expecting, building the internal confidence required to take the bold actions necessary to manifest those desires into reality.
Step 10: Review, Update, and Evolve Your Board
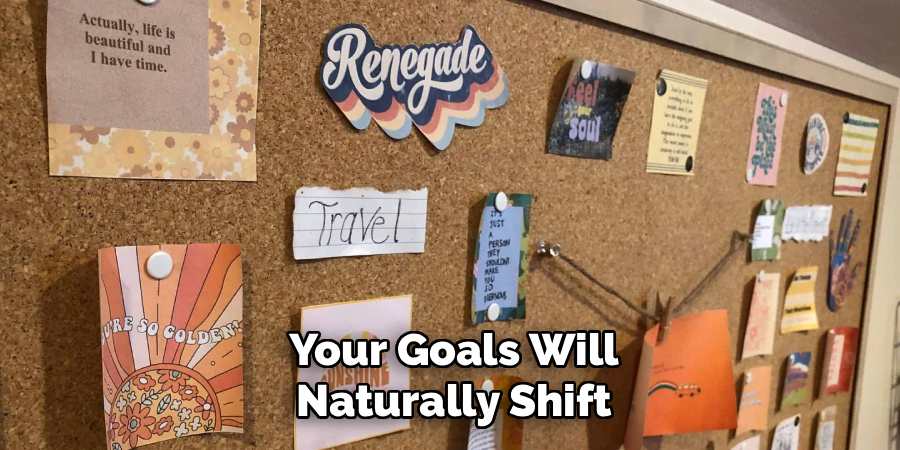
You are a dynamic person, and your goals will naturally shift and expand as you grow. A vision board should not be a static, historical document; it should be a living reflection of your current trajectory. Every few months, take a critical look at your board. Celebrate the things you have manifested or made progress toward.
If certain goals no longer resonate with you, give yourself permission to remove those images and replace them with new ones that excite you. Updating your board keeps your mind engaged and ensures that the visual cues you surround yourself with are perfectly aligned with the person you are becoming.
Conclusion
How to use a vision board effectively is a beautiful commitment to your own potential. It brings your deepest desires out of the shadows of your mind and places them right in front of your eyes. Remember, the board itself does not hold magic—you do.
The images and words are simply a compass, continually pointing your thoughts, energy, and actions toward the life you intend to build. Keep your board visible, engage with it daily, and let its inspiration fuel the practical steps you take.
Trust in your ability to grow, stay focused on your vision, and watch as you begin to deliberately design your reality.

About
Joe Herman is a distinguished figure in the world of personal development, with a decade of expertise creating innovative and sustainable self-improvement frameworks. His professional focus lies in merging cognitive behavioral strategies with modern productivity techniques, fostering habits that are both practical and mentally sustainable. As the lead author of selfvity, Joe Herman delves into the art and science of human potential, inspiring individuals and industry professionals alike to optimize their daily lives.
Education
Stanford University
(Stanford, California) Associate Degree in Behavioral Psychology — Focus on habit formation, cognitive restructuring, and peak performance. Gained hands-on experience with psychological assessment tools and data-driven behavioral modification.
University of Pennsylvania
(Philadelphia, Pennsylvania) Bachelor’s in Positive Psychology and Human Potential (Honors) — Specialized in the science of well-being with a focus on blending psychological theory with actionable growth techniques. Participated in extensive research projects, working with leading wellness consultants to gain real-world insights into human motivation.
Publications and Impact
In selfvity, Joe Herman shares his insights on internal growth processes, mental material, and strategies for efficient lifestyle design. His writing bridges the gap between scientific research and everyday application, making it a must-read for both individuals seeking personal clarity and seasoned professionals looking to refine their mental edge.