Managing incontinence can feel overwhelming at first, but regaining your independence is entirely possible and deeply empowering. Learning how to put on an adult diaper by yourself gives you the freedom to go about your day with absolute confidence and dignity. Whether you are dealing with temporary mobility issues, recovering from surgery, or navigating long-term bladder control challenges, mastering this daily routine is a highly valuable skill.

We understand that this process might seem tricky initially, especially when you are just adjusting to wearing new absorbent incontinence products. However, with a bit of patience, practice, and the right technique, you can easily handle your personal hygiene needs without relying on a caregiver.
In this comprehensive guide, we will walk you through the entire process from start to finish. We will share practical, expert-backed tips to ensure a snug, comfortable, and completely leak-proof fit every single time. Let us explore the most effective methods for managing your incontinence independently.
Step-By-Step Guide: How to Put on an Adult Diaper by Yourself
Step 1: Gather Your Incontinence Supplies
Before you begin the changing process, you need to have all your necessary items within easy reach. Prepare your fresh adult brief, gentle personal cleansing wipes, a quality skin protectant cream, and a plastic disposal bag. Having everything organized prevents you from scrambling halfway through the routine. You should set up your changing station in a comfortable, private area like a bathroom or a bedroom chair.
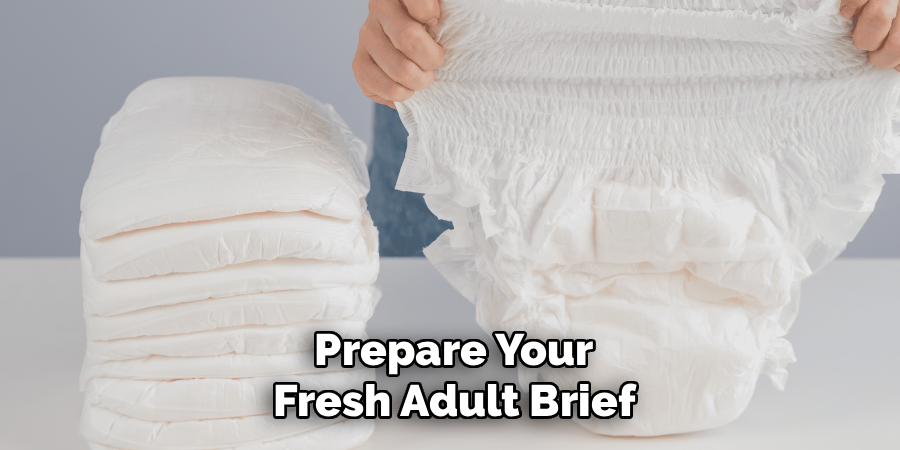
Learning how to put on an adult diaper by yourself becomes much simpler when your environment is properly prepped in advance. Unfold the fresh brief completely and give it a gentle tug on both ends to activate the leak guards. This simple stretch ensures the absorbent core is ready to catch moisture effectively, giving you maximum protection throughout your busy day.
Step 2: Remove the Used Incontinence Product
Start by finding a comfortable sitting or standing position, depending entirely on your balance and daily mobility levels. If you are wearing a standard brief with tabs, carefully unfasten the bottom tabs first, followed immediately by the top ones. Gently fold the used product inward, rolling it securely from the front to the back to contain any moisture or odors.
Once you have it tightly rolled, use the adhesive tabs to secure the bundle shut. Place the soiled brief directly into your prepared plastic disposal bag. Taking your time during this step prevents accidental spills and keeps your immediate environment hygienic. If you happen to be using a pull-up style underwear product, you can simply tear the side seams for quick and easy removal.
Step 3: Cleanse and Protect Your Skin
Proper daily hygiene is essential to prevent skin irritation, painful rashes, or infections when wearing absorbent products for extended periods. Take your pre-moistened personal wipes and thoroughly clean your perineal area, always making sure to wipe from front to back to avoid spreading bacteria.

Ensure the skin is completely dry before moving forward, as trapped moisture creates a breeding ground for severe discomfort. If you use a barrier cream or ointment, apply a thin, even layer directly across the areas most prone to friction and wetness. This protective step shields your delicate skin from harsh acidic fluids. Giving your skin a few moments to breathe before putting on the fresh garment keeps you feeling fresh and significantly reduces the risk of dermatological issues.
Step 4: Position the Fresh Brief Correctly
Positioning the new garment accurately is the ultimate secret to preventing unexpected leaks. Open the fresh product and identify the back side, which usually features the primary fastening tabs or a distinct printed size indicator. If you prefer to change while standing up, place the back of the brief against your backside, holding it steady with one hand.
Pull the front panel gently up between your legs, bringing it flat against your lower abdomen. Make sure the thick absorbent core rests snugly against your body without folding or bunching. The core must directly cover the areas where leaks are most likely to occur. Getting the alignment right in the front and back guarantees that the leak guards sit perfectly in the natural creases of your groin.
Step 5: Secure the Bottom Fastening Tabs
Once the brief is appropriately aligned against your body, it is time to secure the garment. Always start by focusing on the bottom tape tabs located near your thighs. Grasp the tab on one side, pull it slightly upward, and attach it securely to the front landing zone on the brief. Repeat this exact motion on the opposite side, ensuring the tension feels equal on both legs.
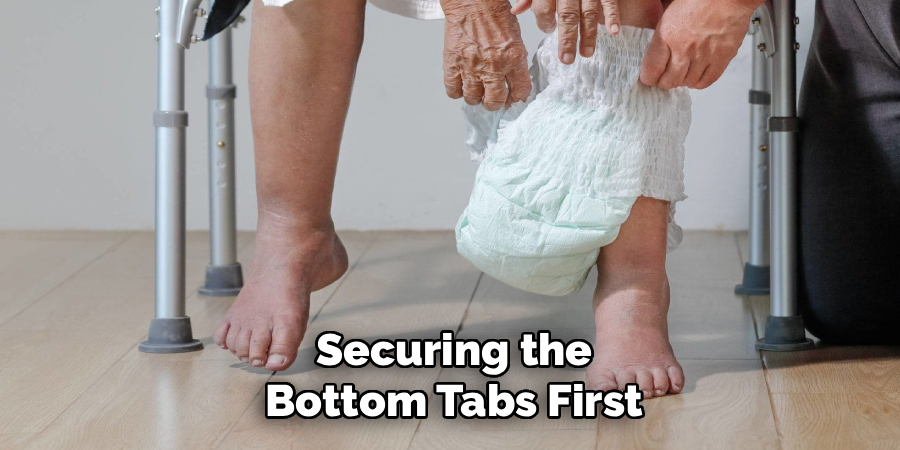
Securing the bottom tabs first anchors the diaper firmly around your lower body, creating a vital seal against liquid leaks. The fit should feel snug but never overly restrictive. You need to be able to slide one finger effortlessly between the elastic leg gather and your skin. This technique maximizes your physical comfort while maintaining the structural integrity of the incontinence brief.
Step 6: Adjust and Fasten the Top Tabs
After securely anchoring the bottom section, move your attention to the top tabs located near your waistline. Pull these top fasteners slightly downward to create a secure, comfortable fit around your midsection. Angling the top tabs down helps naturally conform the garment to the shape of your hips and stomach.
Check that the front panel remains entirely flat and smooth across your abdomen, without any excessive wrinkles that could cause friction against your skin. A well-adjusted waistline prevents the brief from sagging heavily as it absorbs liquid throughout the day. Take a brief moment to adjust the tightness if necessary. You want the brief to hug your body securely, providing peace of mind as you bend and go about your daily activities.
Step 7: Check the Fit and Leak Guards
The final and most crucial step of the process is inspecting the overall fit and the inner leak guards. Run your fingers gently along the elastic edges around your thighs and your groin area. The ruffled leak guards should always stand up and point outward, never folded inward against the absorbent core.
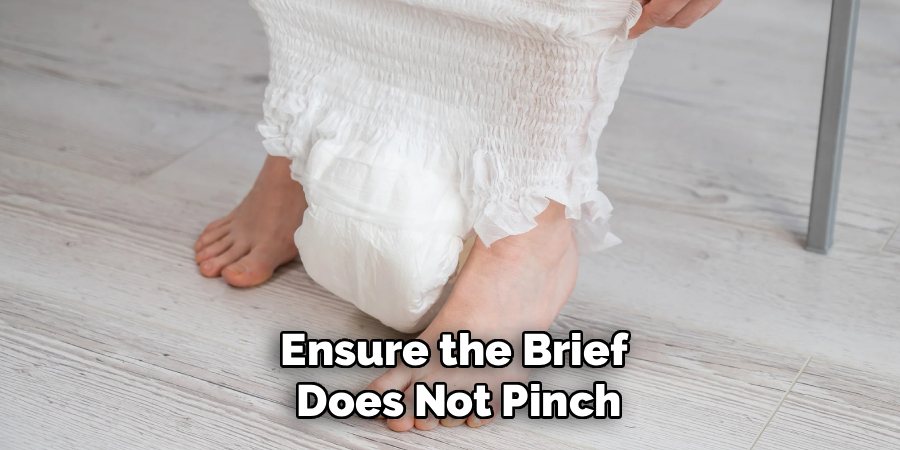
If they are tucked inside, gently pull them out so they can do their job properly and block moisture. Walk around your room for a minute to ensure the brief does not pinch, rub, or slide down your hips. If the garment feels loose or uncomfortable, do not hesitate to unfasten the adhesive tabs and readjust the tension. Achieving the perfect fit gives you complete assurance and beautifully restores your confidence in managing your personal care.
Frequently Asked Questions
Can I Put On An Incontinence Brief While Sitting Down?
Yes, changing your incontinence product while seated is highly recommended for individuals with balance issues or limited mobility.
- Sit comfortably on the edge of a sturdy chair or bed.
- Slide the back portion of the brief under your buttocks.
- Pull the front panel up between your legs and smooth it flat.
- Fasten the bottom tabs first, followed by the top tabs.
This method is incredibly safe and helps prevent dangerous slips or falls in the bathroom.
What Is The Difference Between Pull-Ups And Tab-Style Briefs?
The main difference lies in how you wear them and their overall absorbency levels. Pull-up underwear functions just like regular fabric underwear, making them ideal for active individuals dealing with lighter incontinence. You simply step into them and pull them up. Tab-style briefs, on the other hand, fasten securely at the sides and offer much heavier absorbency. They are easier to change without entirely removing your pants or shoes.
How Often Should I Change My Adult Diaper?
You should generally change your absorbent product between four to six times a day, though this depends entirely on your specific bladder needs. It is crucial to change immediately after a bowel movement to maintain skin health and prevent bacterial infections. For urinary incontinence, replace the garment once the wetness indicator changes color or when the brief feels heavy. Nighttime products are specially designed for longer wear during sleep.
How Can I Prevent Leaks From Occurring During The Day?
Preventing unexpected leaks comes down to choosing the right size and ensuring a proper, snug fit.
- Always measure your waist and hips to buy the correct size, as a loose garment will inevitably leak.
- Ensure the inner elastic leak guards are standing upright around your thighs.
- Consider using an additional booster pad inside the brief for extra protection.
- Avoid drinking excessive fluids right before bedtime if you experience nighttime leaks.
How Should I Dispose Of Soiled Incontinence Products?
Proper disposal is incredibly important for indoor odor control and household sanitation. Never attempt to flush adult briefs or pull-ups down the toilet, as they will expand and cause severe plumbing blockages. Instead, roll the used product tightly and secure it closed with its own tabs. Place the rolled brief into a dedicated, odor-sealing plastic disposal bag. You can then safely throw this bag directly into your regular trash can.
Conclusion
Taking charge of your daily personal care routine is a wonderful step toward maintaining your independence, dignity, and comfort. By understanding the correct techniques—from gathering your hygiene supplies and prepping your skin to adjusting the inner leak guards and firmly securing the tabs—you can easily prevent embarrassing leaks and painful skin irritation. Remember that finding the absolute right product size and style might take a little bit of trial and error initially, but the resulting peace of mind is entirely worth the effort.
Once you master how to put on an adult diaper by yourself, you will feel significantly more confident engaging in your favorite hobbies and daily activities without worry. Do not let incontinence hold you back from living a full, vibrant, and active life. Practice these simple steps daily, stay patient with yourself during the learning process, and enjoy the true freedom that comes with knowing you have your personal care completely under control.
About
Joe Herman is a distinguished figure in the world of personal development, with a decade of expertise creating innovative and sustainable self-improvement frameworks. His professional focus lies in merging cognitive behavioral strategies with modern productivity techniques, fostering habits that are both practical and mentally sustainable. As the lead author of selfvity, Joe Herman delves into the art and science of human potential, inspiring individuals and industry professionals alike to optimize their daily lives.
Education
Stanford University
(Stanford, California) Associate Degree in Behavioral Psychology — Focus on habit formation, cognitive restructuring, and peak performance. Gained hands-on experience with psychological assessment tools and data-driven behavioral modification.
University of Pennsylvania
(Philadelphia, Pennsylvania) Bachelor’s in Positive Psychology and Human Potential (Honors) — Specialized in the science of well-being with a focus on blending psychological theory with actionable growth techniques. Participated in extensive research projects, working with leading wellness consultants to gain real-world insights into human motivation.
Publications and Impact
In selfvity, Joe Herman shares his insights on internal growth processes, mental material, and strategies for efficient lifestyle design. His writing bridges the gap between scientific research and everyday application, making it a must-read for both individuals seeking personal clarity and seasoned professionals looking to refine their mental edge.